
A logo with an opaque background might not blend well with the website’s background compared to one with a transparent background. In this tutorial you will learn how to make a logo’s background transparent. Photoshop will make it happen.
1.) Open your file in Photoshop
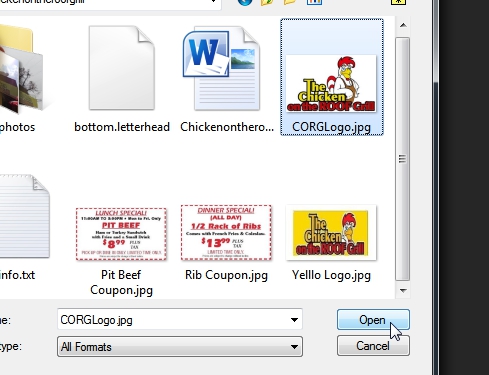
From the menu bar, navigate to File > Open…

Navigate to the folder where your file is located, select the logo file and click on the Open button.
2.) Create a new layer
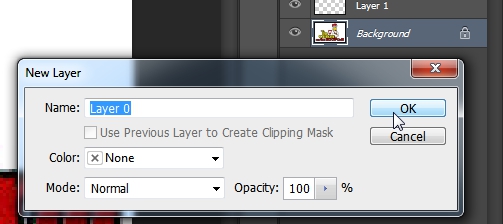
From the menu bar, go to Layer > New > Layer… (or do the keyboard shortcut Shift+Ctrl/Cmd+N).

In the Layers panel on the lower-right corner of your Photoshop window, double click on the layer labeled “Background” and click OK. This will turn the original image into a layer.
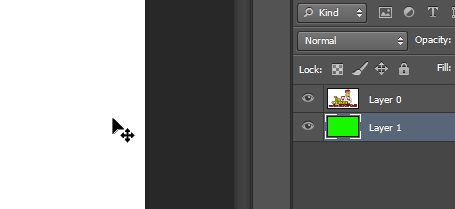
After creating the new layer, click and hold the mouse button on it and drag it down below the original image. This will result in the original image overlaying the new blank layer.

3.) Color the new blank layer
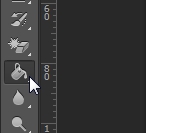
While selecting the new blank layer, on the Tools panel (left side) click on the Paint Bucket Tool.
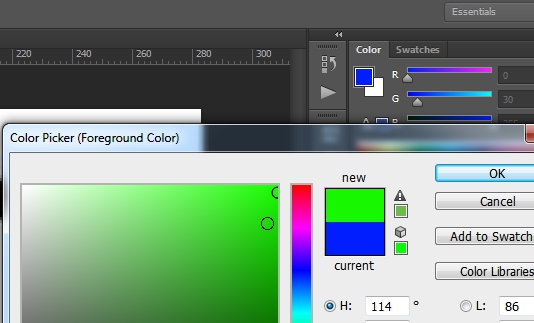
On the Color pallete on the upper-right corner of your screen, click on the colored square. In the Color Picker choose a color that would contrast with the logo’s colors except white.
Click on any blank space within your image to fill the new layer with the color you chose. You may not see this change in the main window but on the Layers panel you’ll notice that the new layer is now colored.
4.) Remove the whitespaces
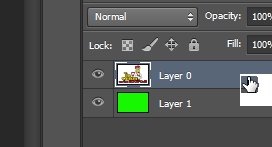
In the Layers panel, select the layer with the image.
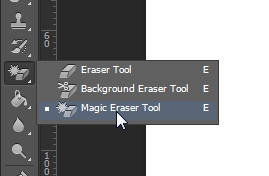
Back on the Tools panel (left side), right-click on the eraser tool set and select Magic Eraser Tool. This type of eraser will automatically erase a single, enclosed shade of color from an image.
Begin by clicking on the outer white area of the image.

Before

After
Notice how the background layer becomes visible. This means the white space in the logo image has been erased and is now transparent.
5.) Clean white spaces off enclosed areas of the logo
By holding the Alt key and using the mouse wheel to zoom in and out of the image, use the Magic Eraser Tool on sections that needs to be transparent alongside the other areas of the logo e.g. the spaces in between texts.

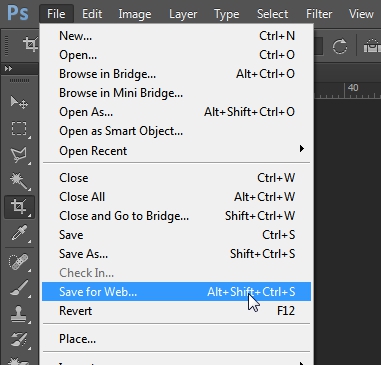
6.) Save your edited logo
From the menu bar, navigate to File > Save for Web (or do the keyboard shortcut Alt+Shift+Ctrl/Cmd+S).
In the Save for Web window, set the image to “PNG-24″ (to preserve transparency). You can also adjust the logo’s height in the provided input boxes.

Click on the Save button and choose the directory you’d like to save your newly edited logo into.
There you have it! A logo with a transparent background that you can now upload and use on your website.
No comments:
Post a Comment